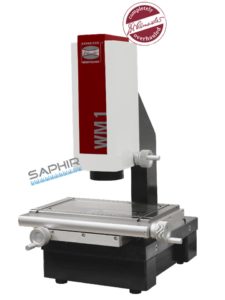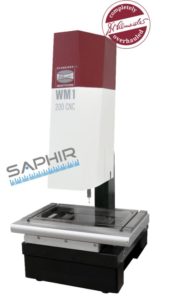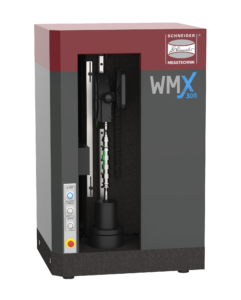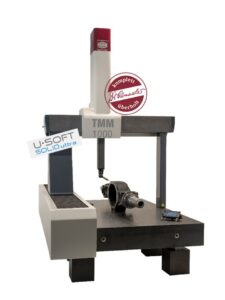
Description Measuring microscope WM1 200
Measuring range
| X-Y | 200 x 100 mm |
| Z | 100 mm |
Basic configuration
- LED transmitted light
- Lens holder for single lens
- Magnification 1,5x
- CNC control
- Measuring stage: needle bearing guided, scales with digital output
- Max. workpiece weight 20 kg
Software/Hardware
- 3D measurement and analysis software SAPHIR:
lern programming, grafical view, reading-in of CAD-files, reports with set/real comparison - Touch screen panel PC / Windows 10
Special features
- LED surface light, separately switchable and dimmable
- Touch probe TP 200
- Reading-in of 2D DXF-files
- DAkkS calibrated
Length measurement error, L in mm
DIN EN ISO 10360-7
optical (1D) EUX, MPE, EUY, MPE (1.9 + L/100 mm) μm
optical (2D) EUXY, MPE (2.9 + L/100 mm) μm
DIN EN ISO 10360-2
tactile (1D) E0Z, MPE (3.9 + L/100 mm) μm
Electrical power supply
- 220-240V / 50-60Hz
Guarantee
- 6 months, directly from manufacturer incl. factory certificate


