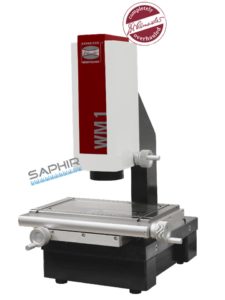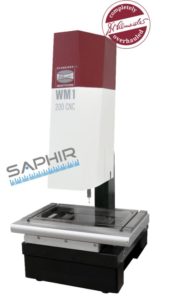


Description WM1 400 (300)
High-tech – low budget, with integrated image processing or as “small” multisensor device for measurement of:
- Blanked parts
- Plastic parts
- Rubber parts
- Tools
- Seals
- Profiles, etc.
Workshop microscopes from the WM1 Series – Tailored solutions for your measurement application
No matter whether you choose a manual or CNC version of the WM1 – our two measurement software packages, SAPHIR and M3, are available in both cases. In the entry-level class, the M3 measurement software sets standards in intuitive operation and functionality. Should you have further demands on the programming and analysis possibilities, then our 3D measurement software is available here. Both software packages can be optionally upgraded in the CNC version with a tactile measuring probe to form a “small” multisensor device. The WM1 Series offers tailored solutions that can be flexibly adapted to your needs and tailored to your budget.
Your benefit:
- Camera-aided measurement data acquisition
- Precise edge detection in transmitted light and incident light thanks to intelligent image processing algorithms
- Small and handy – but big in performance
- Quick handling with the highest measuring precision
WM1 400 (300) CNC / WM1 400 (300) M3 CNC
- SAPHIR measurement and analysis software or M3 measurement software
- 3-axis CNC system High-resolution CCD matrix camera
- High-resolution CCD matrix camera
- 1.5x magnification
- Incident light illumination with diode ring light, 4 sectors and 1 ring separately switchable
- Precision measuring table in X and Y
- Diode laser as positioning aid
- Colour inkjet printer
- Joystick and trackball for axis movement with fast/slow switch
- 21.5″ TFT flat screen monitor
- Optional: TP 200 tactile probe
- Optional: Motorised zoom lens 0.58x to 7x, 8 steps, incl. coaxial incident light illumination


