The Firearms Proof House in Ulm Relies on Measurement Technology by Schneider
Reliable metrology is key to the safety-relevant work of the Firearms Proof House in Ulm, the only accredited proofing authority of its kind in Germany: Since nothing goes without unwavering long-term accuracy and precision in the authority’s measurement operations, by the Proof House Schneider Messtechnik was selected as the supplier of choice:
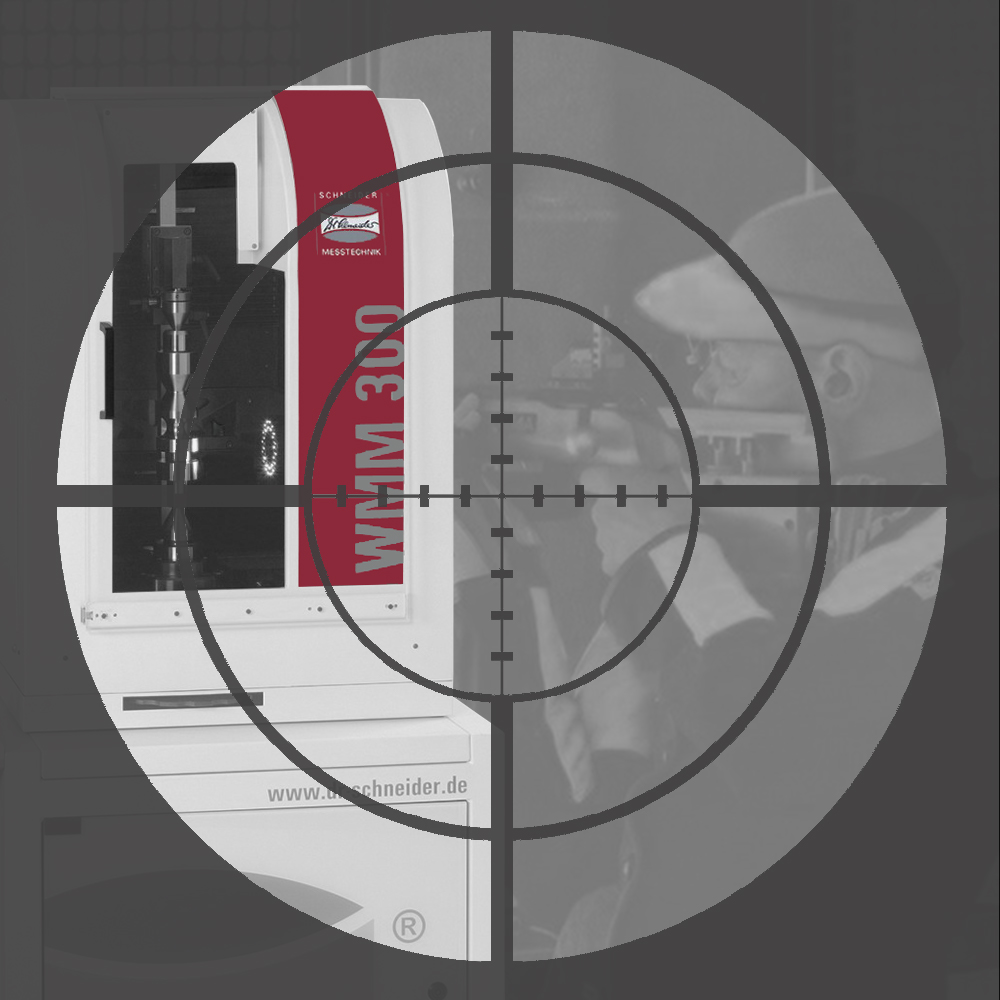
Shaft measuring machine WMM 300 combined with measurement and analysis software SAPHIR is now at work in Ulm, providing daily “proof” of its worth in the measurement of gauges that are used in rigorous firearms testing.
Given the authority’s stringent focus on safety and reliability, the requirements placed on the acquisition of a new measuring machine were accordingly high: Not only was the new machine expected to meet high standards in terms of quality, cost-efficiency and time savings, but it was also to come with a software offering intuitive use. Schneider Messtechnik was found to measure up to all these requirements!
The responsibilites of the Firearms Proof House in Ulm are broad: For example, each firearm and each device must be subjected to rigourous dimensional, marking and safety testing in accordance with the German Firearms Proofing Act (“Beschussgesetz”); the same applies to ammunition. And there is even more to it because the proofing team in Ulm is also engaged in the inspection of materials and equipment designed for personal and property protection. As an accredited testing laboratory, the Firearms Proof House in Ulm is required to ensure direct traceability of its measurement equipment to the national reference standard of the PTB, the German National Metrological Institute (Physikalisch-Technische Bundesanstalt). Utmost precision is, therefore, an indispensable prerequisite in all its activities.
In the field of firearms technology, four Proof House staff members are in charge of safeguarding the equipment’s direct traceability to the national standard by ensuring regular inspection of the gauges and other equipment used.
“With the previous machine, we had to create one programme per gauge, and programming needed to be done manually, thus making regular gauge inspection was extremely time-consuming and labour-intensive. Therefore, we looked to invest in a new measuring machine that would offer, besides excellent accuracy and precision, convenient routines as well as intuitive software handling”, explains Bernhard Groner, Quality Assurance Officer of the Firearms Proof House in Ulm. “After all, we are talking about headspaces of – in some instances – one-tenth between the minimum and maximum gauge, which is equal to the manufacturing tolerance. However, the tolerance field of the gauges to be inspected is k5. In our invitation to tender, we specified, besides our high quality requirements, the need for short inspection times.”
The main advantage of the selected high-precision shaft measuring machine over comparable systems is its excellent accuracy: Schneider’s software-equipped measuring machine, which enables fast measurement of rotationally symmetric objects of up to 300 mm in length and up to 80 in diameter, excels not only in the measurement of diameters, but is also capable of quantifying lengths, micro-contours, radii and grooves on rotationally symmetric objects with exceptional reliability and speed. Therefore, the combination of the WMM 300 measuring machine and the SAPHIR software is ideal for performing measurements on gauges for firearm inspection (i.e. for inspection of the chamber and the barrel’s inner geometry – its so-called groove/land profile). The Firearms Proof House in Ulm uses more than 200 different sets of gauges and special measuring equipment designed for testing adherence to dimensional specifications for different calibres. Shooter safety is also ensured by proof testing (firing of proof loads).
“Thanks to the measurement technology supplied by Dr. Schneider, we are now able to measure a whole set of gauges, including one-time programme creation, in only 10 minutes’ time. Our average daily work output has thus increased by ten to fifteen times! This is an impressive time saving benefit that will make the purchase of the new measuring machine pay for itself in a very short time”, emphasises Bernhard Groner.


