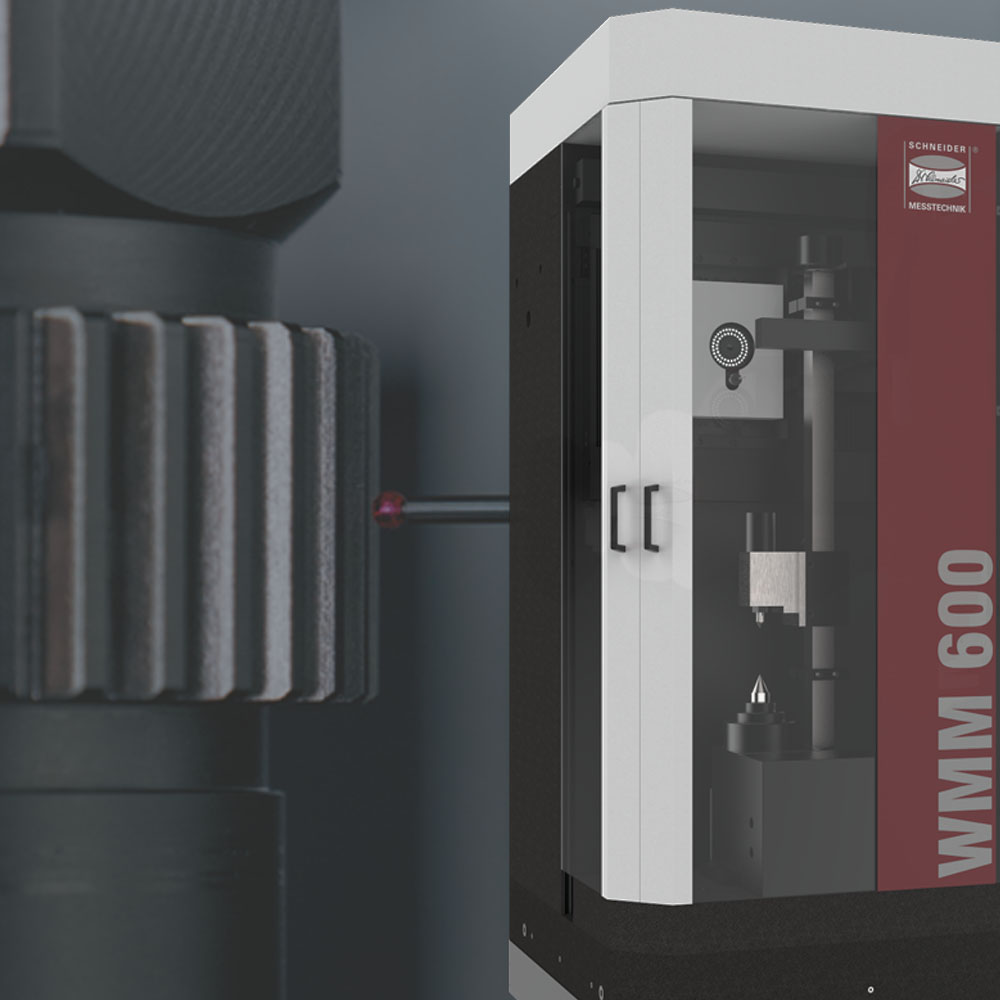
Fast and precise measurement of shaft teeth/splines – with Schneider’s self-centring feature!
Would you like to measure splines? Well then, nothing could be easier if you opt for a machine of Schneider’s WMM series! Thanks to perfectly calibrated and mutually attuned sensors, reliable measurement of splines, shapes and effective diameters becomes a real breeze: The ball tip of the measurement probe self-centres within the toothing, thus automatically compensating for any centre offset and nestling against both flanks point by point.
The WMM machines ideally combine the benefits of image processing and scan-type probing so that you can measure your workpieces on one single device, thus saving time and money because idle times are significantly reduced.
Featuring a robust granite basis, all machines in the WMM series deliver reproducible measurement results – even in harsh production environments. They are conceived for “all-round” and thus complete measurement of rotation-symmetrical workpieces such as shafts, whether simple or complex in design.
Have we piqued your interest? Then please feel free to watch our video that will put you in the picture about pinpoint spline measurement with the WMM series of Schneider Messtechnik:
Yours team of
Dr. Heinrich Schneider Messtechnik GmbH


