The WMM series from Schneider Messtechnik
Do you define a shaft by more than just diameter and length? Do you have to use up to 5 measuring devices to measure every feature? Are the measuring devices scattered throughout the production process and all need to be set up differently? Do all of your measurement reports then need to be individually merged?
Save TIME, SPACE and MONEY. Your benefits:
- Save time through reduced training requirements for your employees
- Free up space for other important machines
- Faster measurement results and better utilization of your production machines
- Accurate and comprehensible measurement reports for your customers
- Secure data transmission
How can you achieve this?
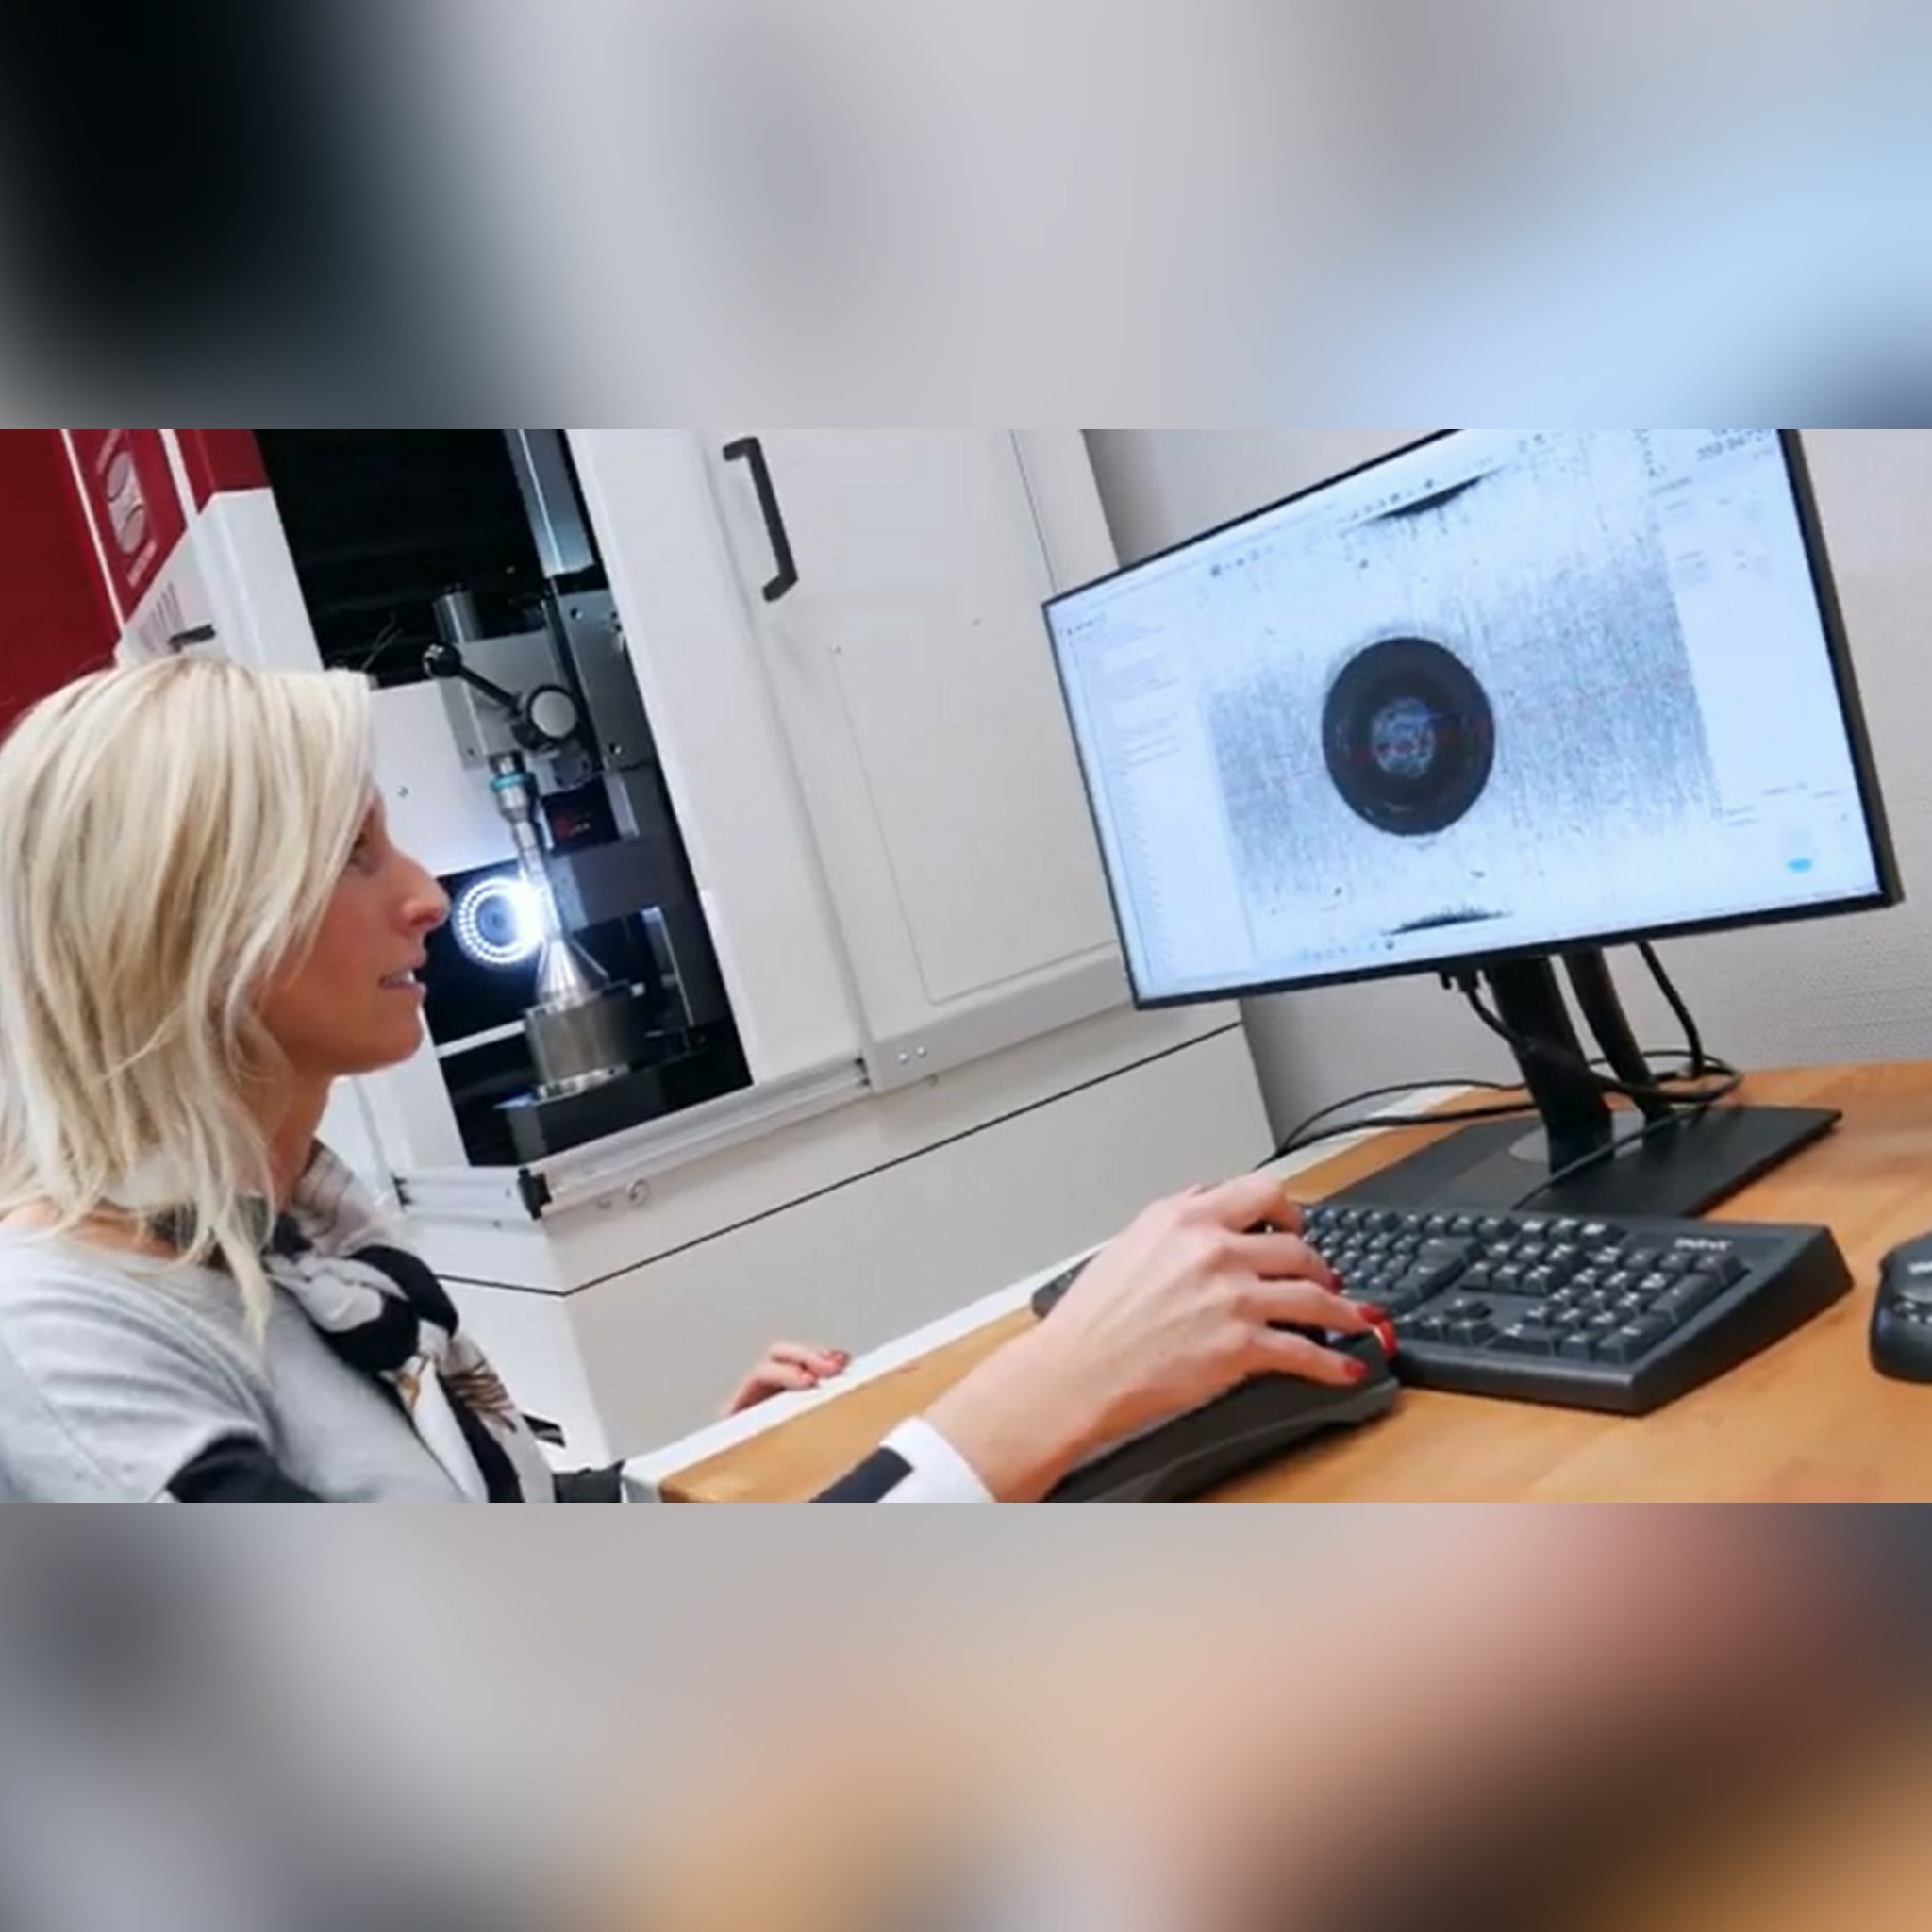
The WMM series from Schneider Messtechnik is a 3D shaft measuring machine that can be adapted to the measuring task at hand thanks to an innovative modular concept.
Included features are:
- wobble compensation (patent protected)
- fully integrated tactile or scanning measuring probe with probe retraction axis
- LED sector incident light
- dynamic measurement in rotation
- high speed camera
- individual robot integration
These are concrete benefits for you, which can be fully realised when combined with the measuring and evaluation software SAPHIR.
We have summarised this for you.
More precise measurement results and reduced costs due to wobble compensation
Unwanted wobbling movements almost always occur between workpieces and the clamping devices or workpiece holders. This has a lasting effect on your measurement result.
The wobble compensation from Dr. Heinrich Schneider Messtechnik GmbH is a patented high-end technology which eliminates this effect. The wobble compensation ensures that the actual deviation of the measurement object can be detected, measured and compensated for, regardless of which sensor is used for the measurement. There is no longer any dependency on the holder and the clamping device and this reduces costs.
Valid measurement results in a flash
The precise and fast measurement in rotation can be seen clearly with the example of an impeller and milling tool. The fact that this is a matter of evaluating the individual cutting edges also shows the potential for saving time and reducing costs in the production process.
During the evaluation of the individual blades and cutting edges it can be precisely evaluated whether certain geometries protrude or recede and whether these deviations are within the defined tolerance. The evaluation of the measurement results can be done in relation to different reference elements, in combination with the dynamic wobble compensation.
For example, cutting edges can be evaluated in relation to the cutting edges themselves, in relation to the tool shaft or in relation to the tool holder. Even complex milling tools can be evaluated and tested and a comprehensive tabular or graphical measurement report can be generated.


